
What you need
- 1 cardboard box (a shoebox works, but so will something smaller. In this example, we used a box that held business cards)
- Leaves from bushes and trees around your yard
- Scissors
- Glue
1.
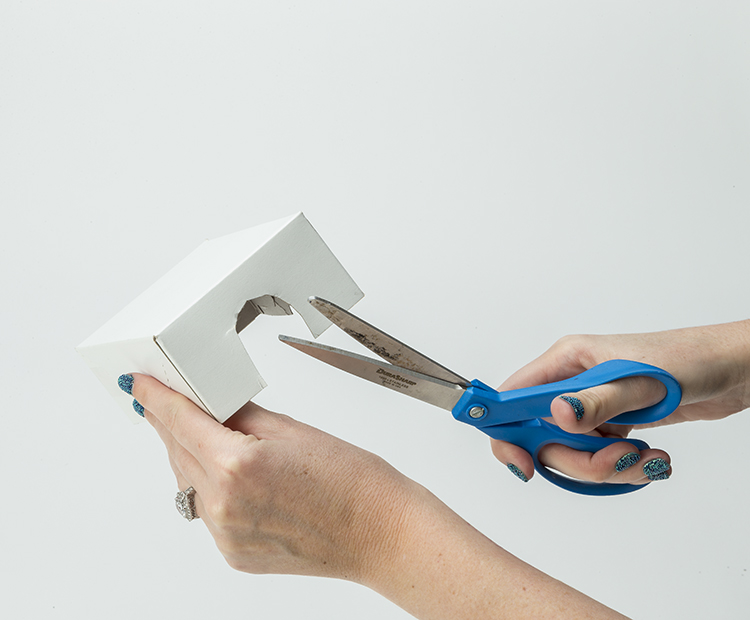
Cut an opening in one end of the cardboard box.
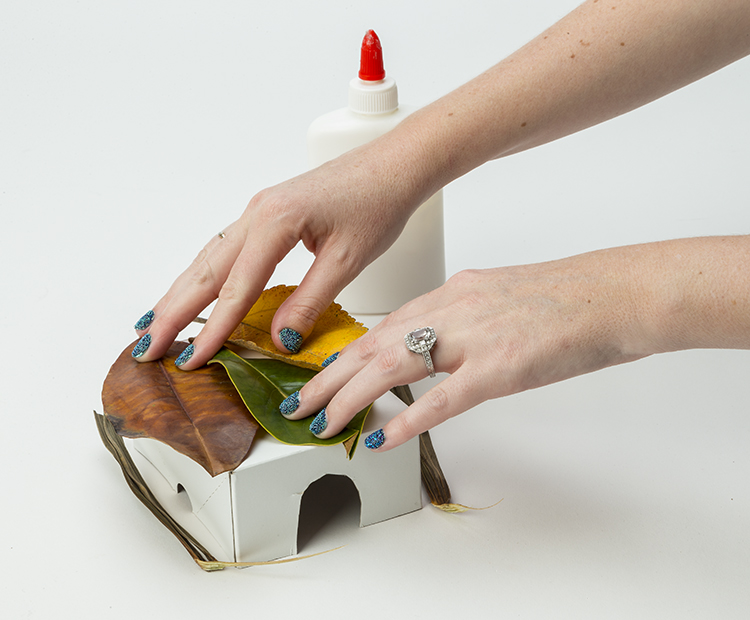
2.
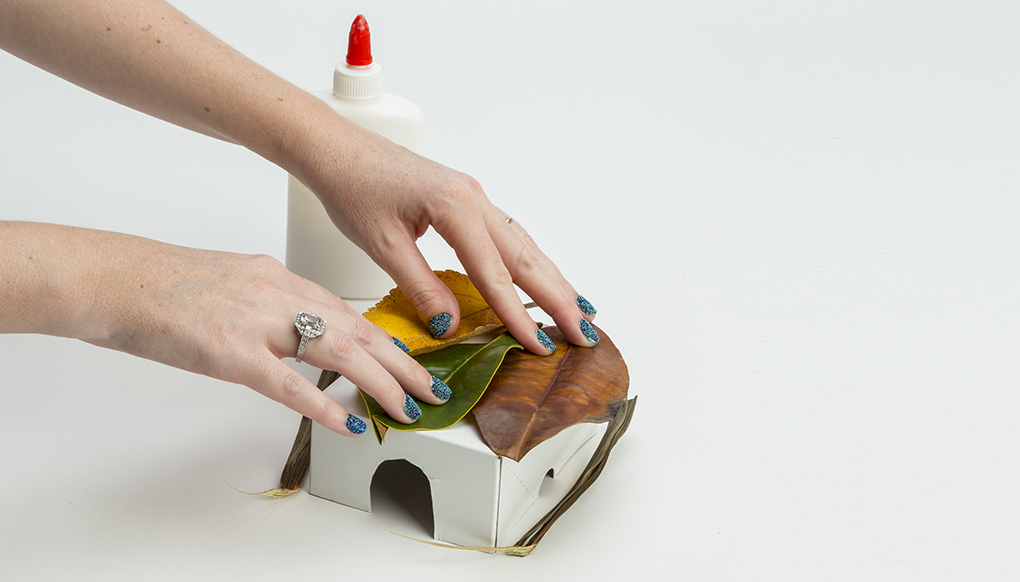
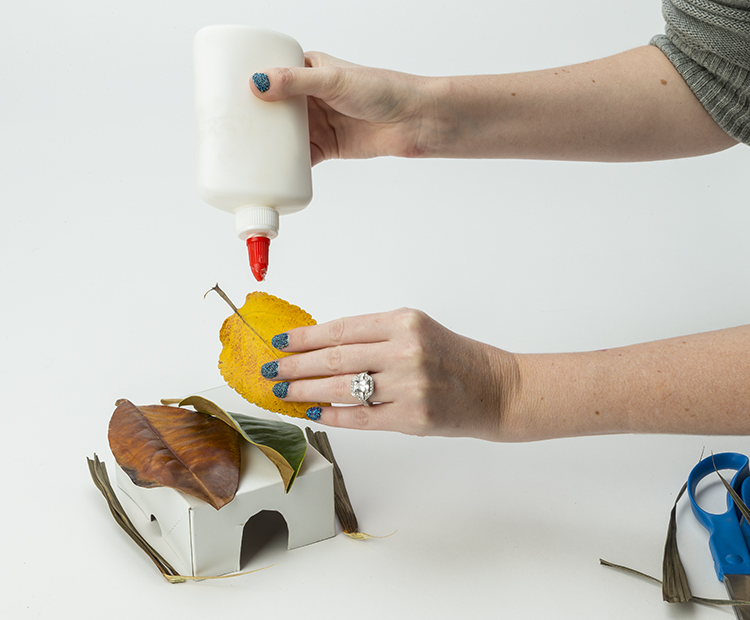
Use glue to cover all the surfaces of the box with leaves. Make some leaves overlap each other.
3.
When the glue has dried (usually overnight), place the Lizard Lair on the ground in a good spot, such as under a bush or in tall grass or weeds. Why not make another one? The more homes you have around the outside of your home, the more lizard “neighbors” you may have!