What you need
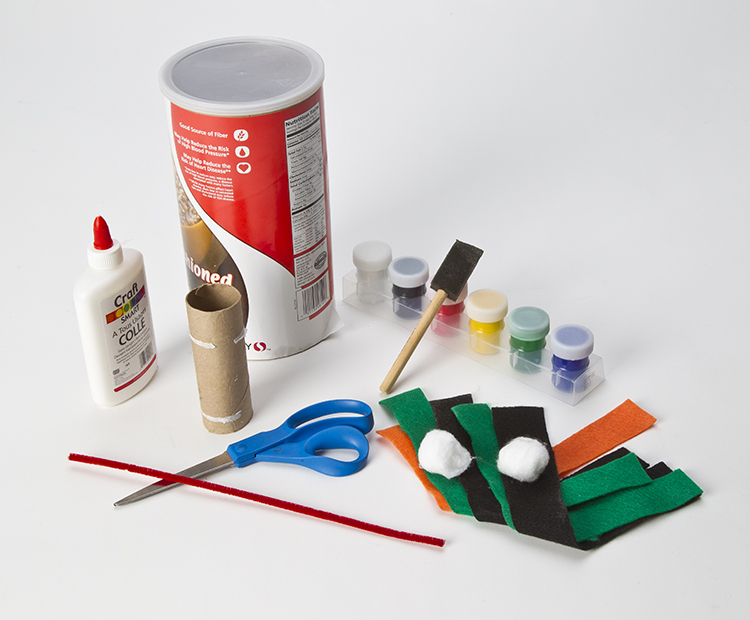
- Paper
- An empty, round, oatmeal or bread crumb container
- Different colors of felt material
- 1 chenille stem (or pipe cleaner)
- 1 empty toilet paper tube
- White glue
- Scissors
- Poster paints
- 2 cotton balls (optional)
1.
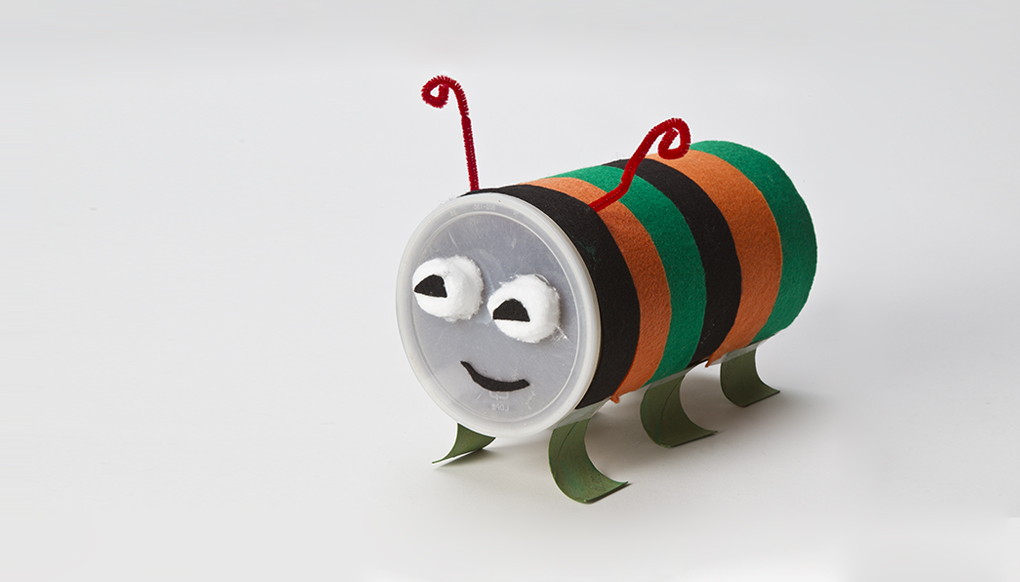
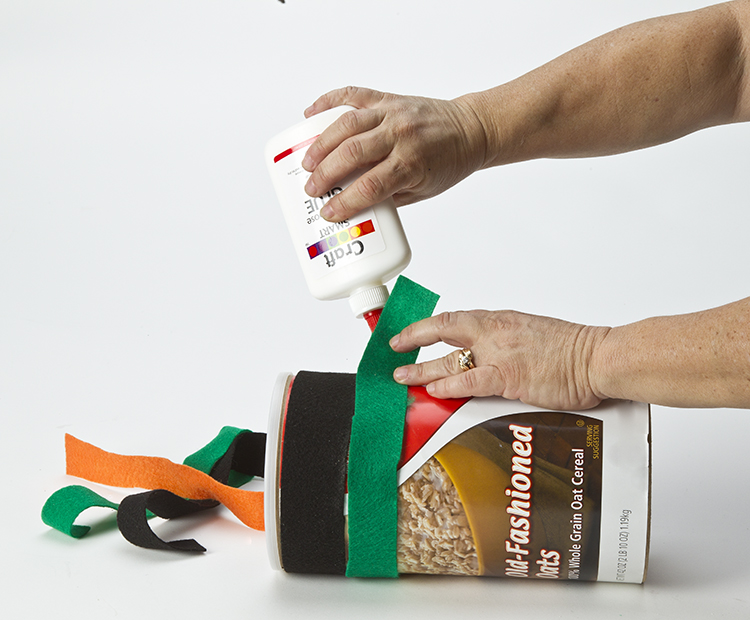
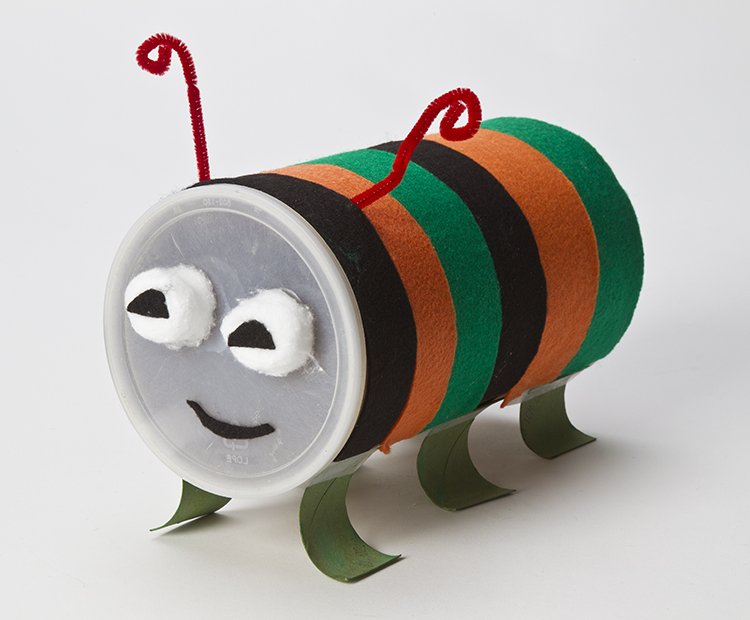
Measure the length of a strip of paper that fits around the container. Cut strips out of the felt, each one the same length as the strip of paper. Cut 6 or 7 strips of felt, depending on how wide you make them. You can use just 2 colors and alternate them, or you can use a different color for each strip. Coat the outside of the container with glue. Now carefully wrap your strips of felt around the oat container, alternating the colors to make stripes, covering the whole container from bottom to top. To make the caterpillar's face, cut out eyes and a mouth from felt and glue them on the lid of the container. (Or use the two cotton balls for eyes.)
2.
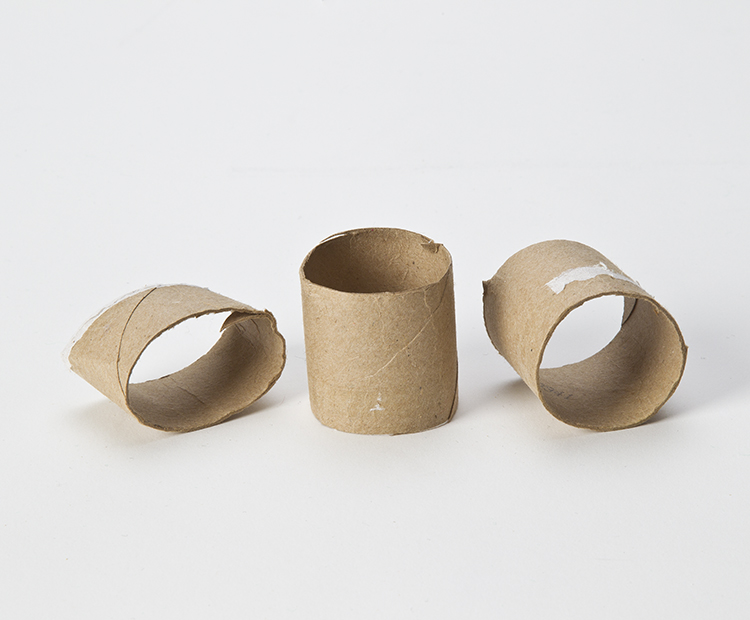
Take the toilet paper tube and cut 3 1-inch rings from it. Cut each ring in half, then paint the halves with the poster paint. When the paint is dry, place one of the half rings up against the caterpillar's body, near the head, so that the other end curls out. This is one leg. Glue it into place, then glue two more legs on that side and three legs on the other side. (You can also make lots more feet if you cut apart more toilet paper tubes.)
To make antennae, use a pencil to poke two holes at the top of the caterpillar's head, 2 inches apart and 1 inch back from the face. Push one end of the chenille stem into one of the holes, then poke it up through the other hole. Pull on the chenille stem until the two ends are even. You can curl them, or point them in different directions.
3.
When the glue has dried, you have your caterpillar! And best of all, if you take off the lid (or "face"), you can use your caterpillar to keep things in!

